I decided to build a piece of terrain for my next unboxing project. I wanted to create a futuristic industrial factory that I can use in video projects and also utilize during a game of Infinity. I found a picture of a structure on Google that I really liked and I am going to attempt to construct it using foam board and balsa wood.
Here is the image I found:

David Trautrimas's the-toaster-factory
Supply list:
2 Sheets of Elmers foam board
24" x 10" x 1/4" birch plywood
Elmers glue
Super Glue
Jewlery wire
1 bag of sand
Various sizes of balsa wood
2 wooden dowels; two different diameters

Step 1: I used the 4" sheets of balsa wood to recreate large concrete slabs. I cut them in different lengths and stacked them in a brick pattern. I left a gap between the slabs to add depth.


Step 2: I did my best to scale and transfer the Toaster Factory image to the foam board. Using a red pencil I refined the design the best I could. This became a template for both sides of the factory.


Step 3: Use a sharp utility knife to cutout the design.

Step 4: I traced the completed template onto another piece of foam board.


Step 5: Align the two side walls with your concrete slab base. You can tape it in place. Now measure the sizes needed for the floor and the roof of the main factory. Once you get these measurements you can cut these shapes out of foam core.
Step 6: It's important to cut a grove out of the edges of the floor and roof pieces. This will allow for a better joint with the glue and the walls. Look at the below pictures to see how to trim out the groves.


Step 7: Add glue to the joints for the roof. Then place each side wall piece into the groves of the roof. Use masking tape to form a tight seal and keep the pieces together. Once you are done with the roof, add glue to the groves of the floor piece. Attach the floor piece to the side walls (completing the structure). Use multiple pieces of tape to keep the structure in place with tight seals. Leave it for an hour or so. In the mean time you can start the next step.


Step 8: Guard Tower/Smoke Stack
While the main structure is drying and forming, you can start building the two tall towers. I will use these as both a guard tower during games and a smoke stack during video projects.
I did my best to transfer the design to foam board. Then I used a sharp utility knife to cut out the design.

The first piece is complete. You can now use it as a template to create the front for the second tower.

The back tower wall has different sized windows. You can use the front as a template, just remember to draw smaller windows for the back wall. Once you complete the first back wall you can use it as a template for the second tower's back wall.
You also need to measure and cut out a roof/floor and a middle of the tower floor (these are the same size). You will then measure and cut the side walls for each tower. I decided to cut the joint grove into the side wall pieces.
Here is a picture of all six pieces needed to build one tower.

Use the glue and masking tape to assemble each tower with tight seems and joints.


When installing the roof floor, make sure you place it about a 1/2 below the top of the roof's edge. This way your models have a place to hide behind during combat.

Here is the completed tower. The side walls were cut to long because I added the curve to the top of the front wall after all the pieces were cut. It was simple to trim the side walls to size after the tower was completed.

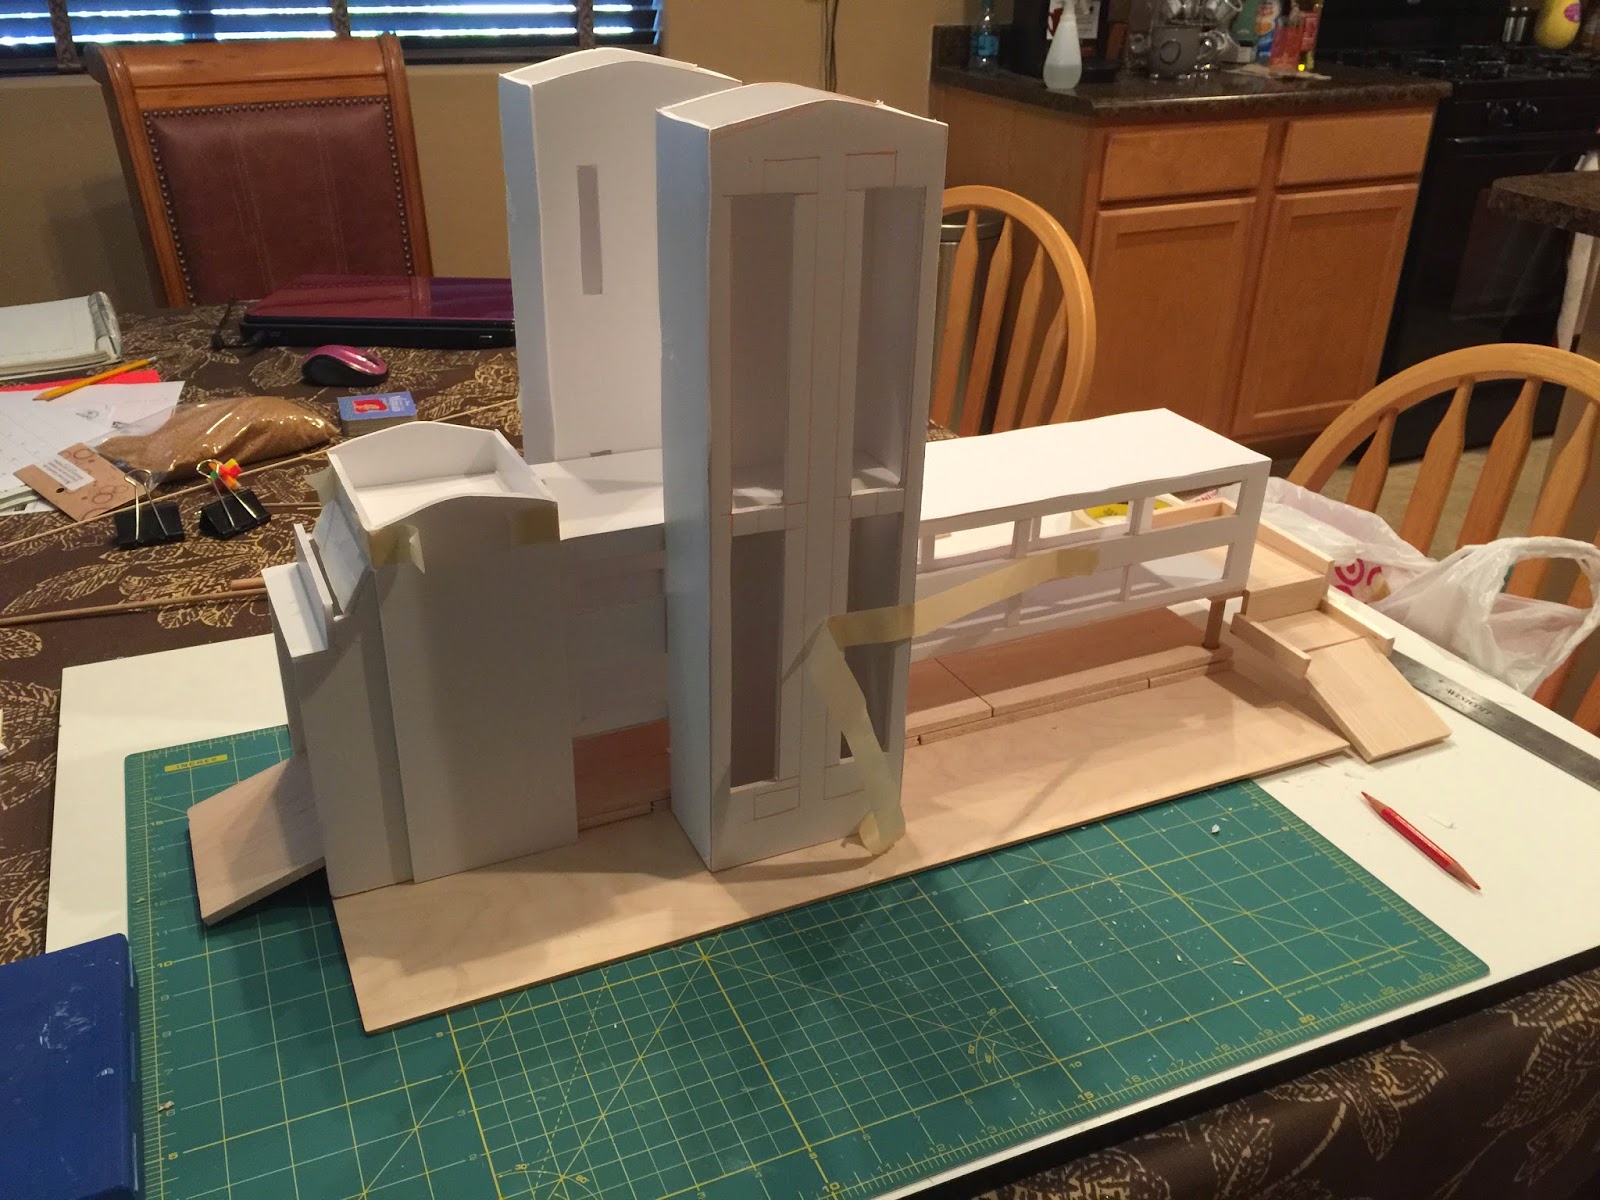
After completing both towers I started to layout the factory. Using the original picture as a guide, I found the exact positions I wanted .

Step: 9 My factory needed a ramp to allow the models to easily move in an out of the factory. I used a piece of balsa wood. I aligned it with the factory floor and angled it so that it would be a gradual decline down to the table top.

Step 10: The exit of the factory needed some kind of staircase/ramp for the models. A single ramp would have been too steep for game play so I used balsa wood to create a step and a ramp. Use masking tape to keep the glued balsa wood in place. Let it dry over night to complete the process.


Step 11: The next day! Now you can remove all of the tape that was used to keep the joints stable. Your balsa wood stairs and ramps should be solid now and you can remove the tape from them as well. Now it is time to install the towers. I needed to tape the entrance side of the factory to the board because the foundation under the stairs and ramp haven't been installed yet. You need to have the factory sit flush to the base board before installing the towers.

Step 12: Glue the back of the towers to the factory. You will need to use more masking tape to make sure the towers seal to the factory.


Step 13: Use wooden dowels to complete the supports for the exit end of the factory.

Carve holes into the concrete slabs (balsa wood) to insert the dowels. Glue the dowels into the holes. DO NOT GLUE THE FACTORY TO THE DOWELS YET


The structure is starting to take shape.

Step 14: The antennae tower. Here I attempted to design an extra side wall and roof boarders to make an antennae/guard tower. See the images below for design ideas.


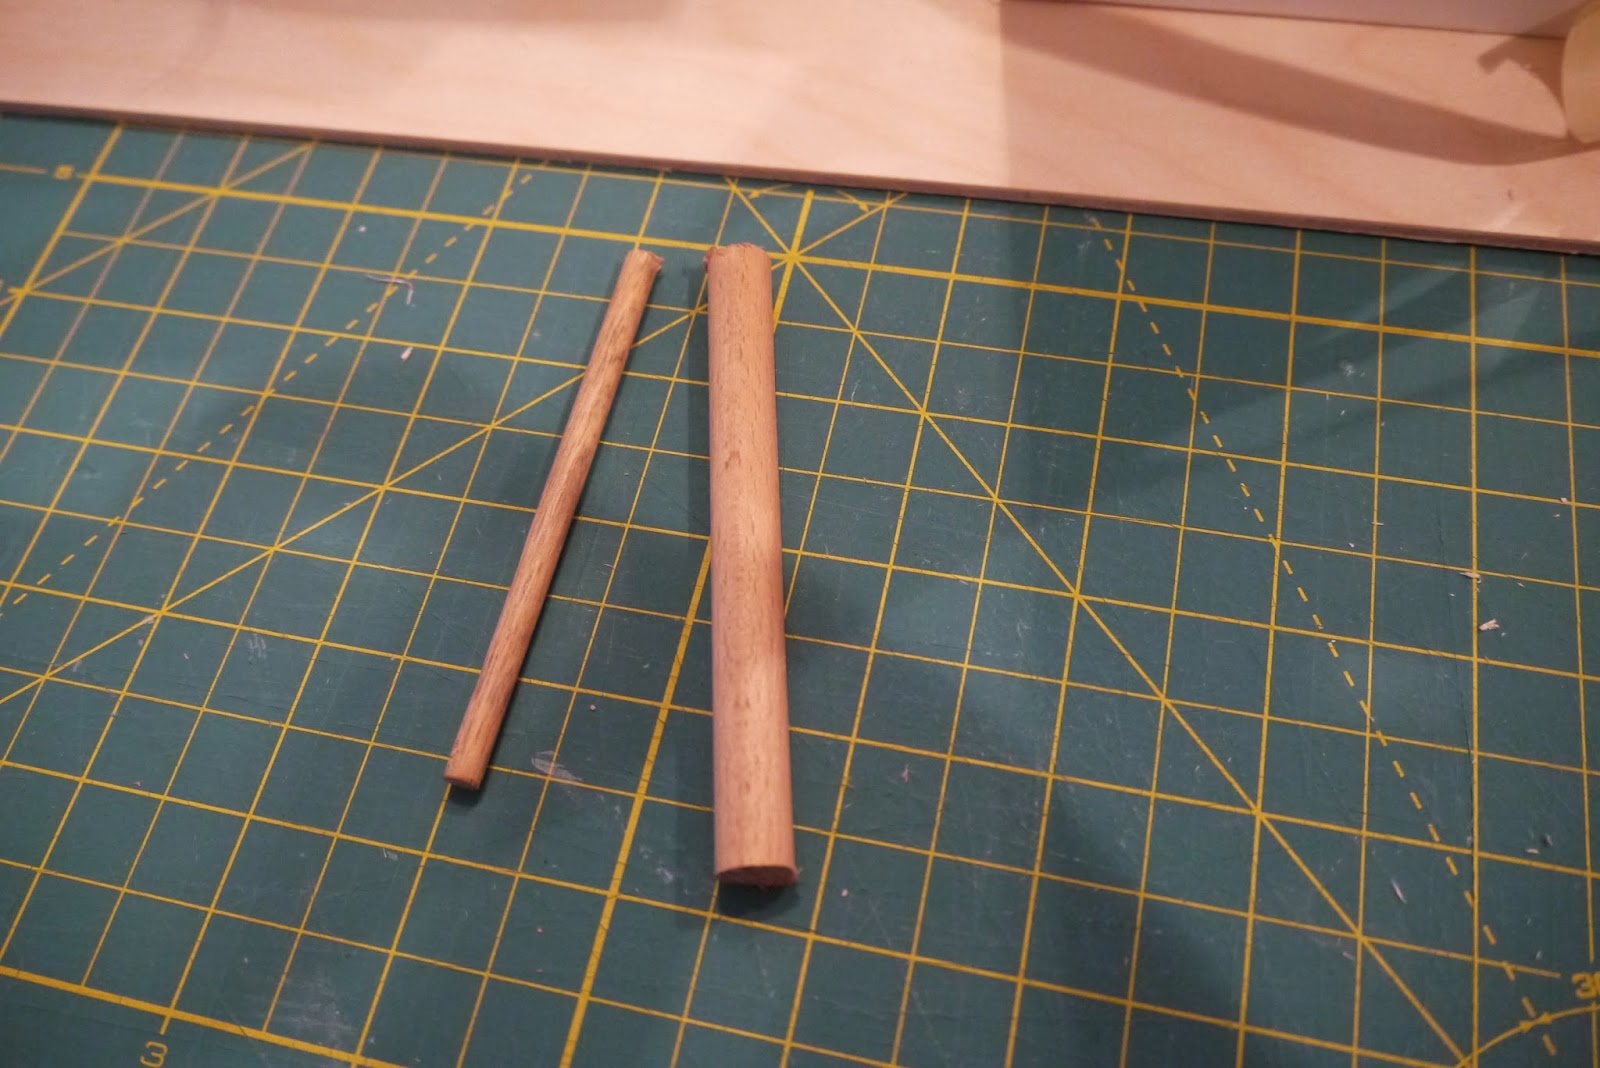
Step 15: The coiled antennae. I cut two different sized dowels for this project. Drill thin holes through the thicker dowel (at the top and the bottom). This is where the wiring will be fed through.


I used a small flashlight as a template to wrap the wire around and form the shape of the coil. This part was really tricky to attach to the wooden dowel. When I took the wire off of the flashlight it retained the shape pretty well.

Now take one end of the wire and slip it through the top hole of the dowel. Then make sure the dowel is centered in the middle of the coil. I had to massage and reshape the coil throughout this process. I think the flashlight was slightly too big but I made it work. Once I had the shape I liked, I cut off the excess and placed the bottom piece through the bottom hole. Once the wire is through the top and bottom holes, you can wrap it around the dowel and this will keep the coil in place


Step 16: Texture on the base board. Apply glue to the base board and sprinkle sand over it to add texture to the ground outside of the factory.


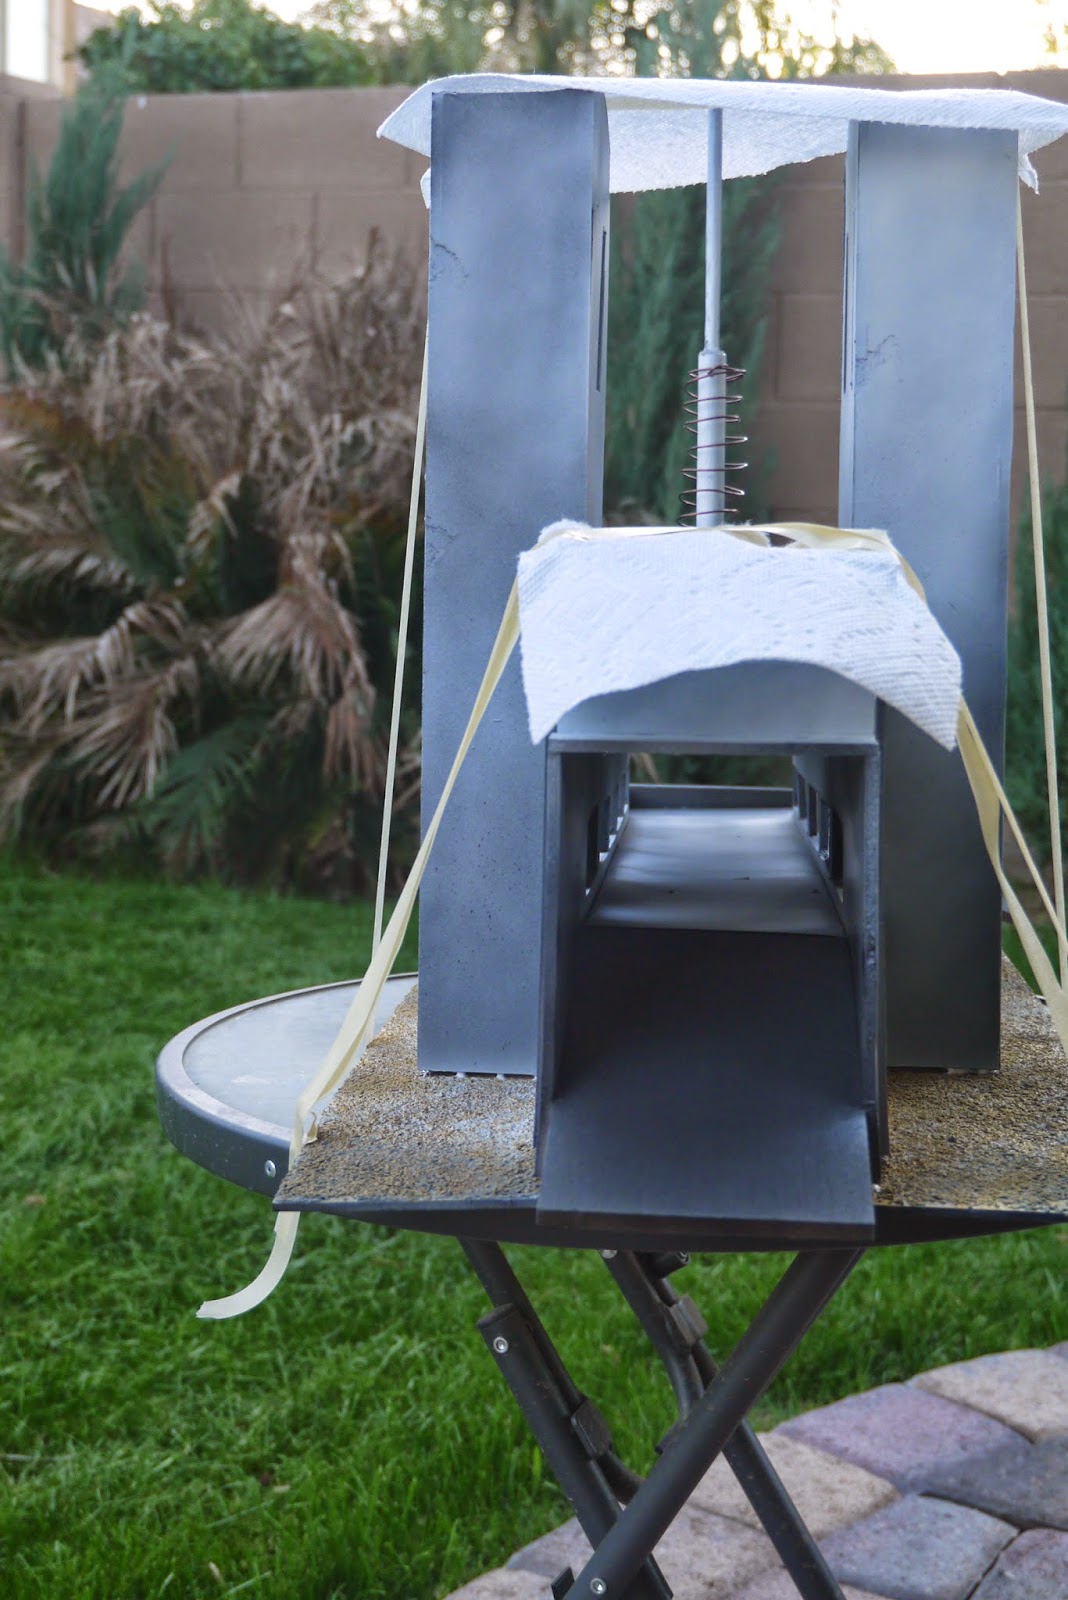
Step 17: Time to prime. The reason why I didn't glue the factory to the dowel supports is so I could paint the base separately from the factory.
First prime the base board and concrete slabs black.

Then add the factory and prime it black.

Next: Myst the factory and the base with white. This should give the structure a grey appearance. The white also helps makes the concrete slabs look more natural.


Step 18: Install the coiled antennae with super glue. I used a lot of super glue to make sure it formed a good foundation for the antennae.

Step 19: Detail painting. I then glued the factory to the base board and the supporting dowels. I noticed there was an issue with warping for the base board. Next time I will use a thicker base board. I was trying to keep this project light weight. I used masking tape to bend the board upwards in an attempt to reshape it. I will keep the masking tape in place for at least a week to make sure it sets correctly. I will start my next video project this upcoming weekend. This factory will play a major role in my newest video, as well as other future videos. If you plan on making one of these, please send me your photos. I would love to see them. Thanks for checking out my blog.
Here are photos of the finished project. I will update these photos as I update this structure over time.. I may add a ladder or two. I may also improve the painting of the building. It loos a little unfinished to me.