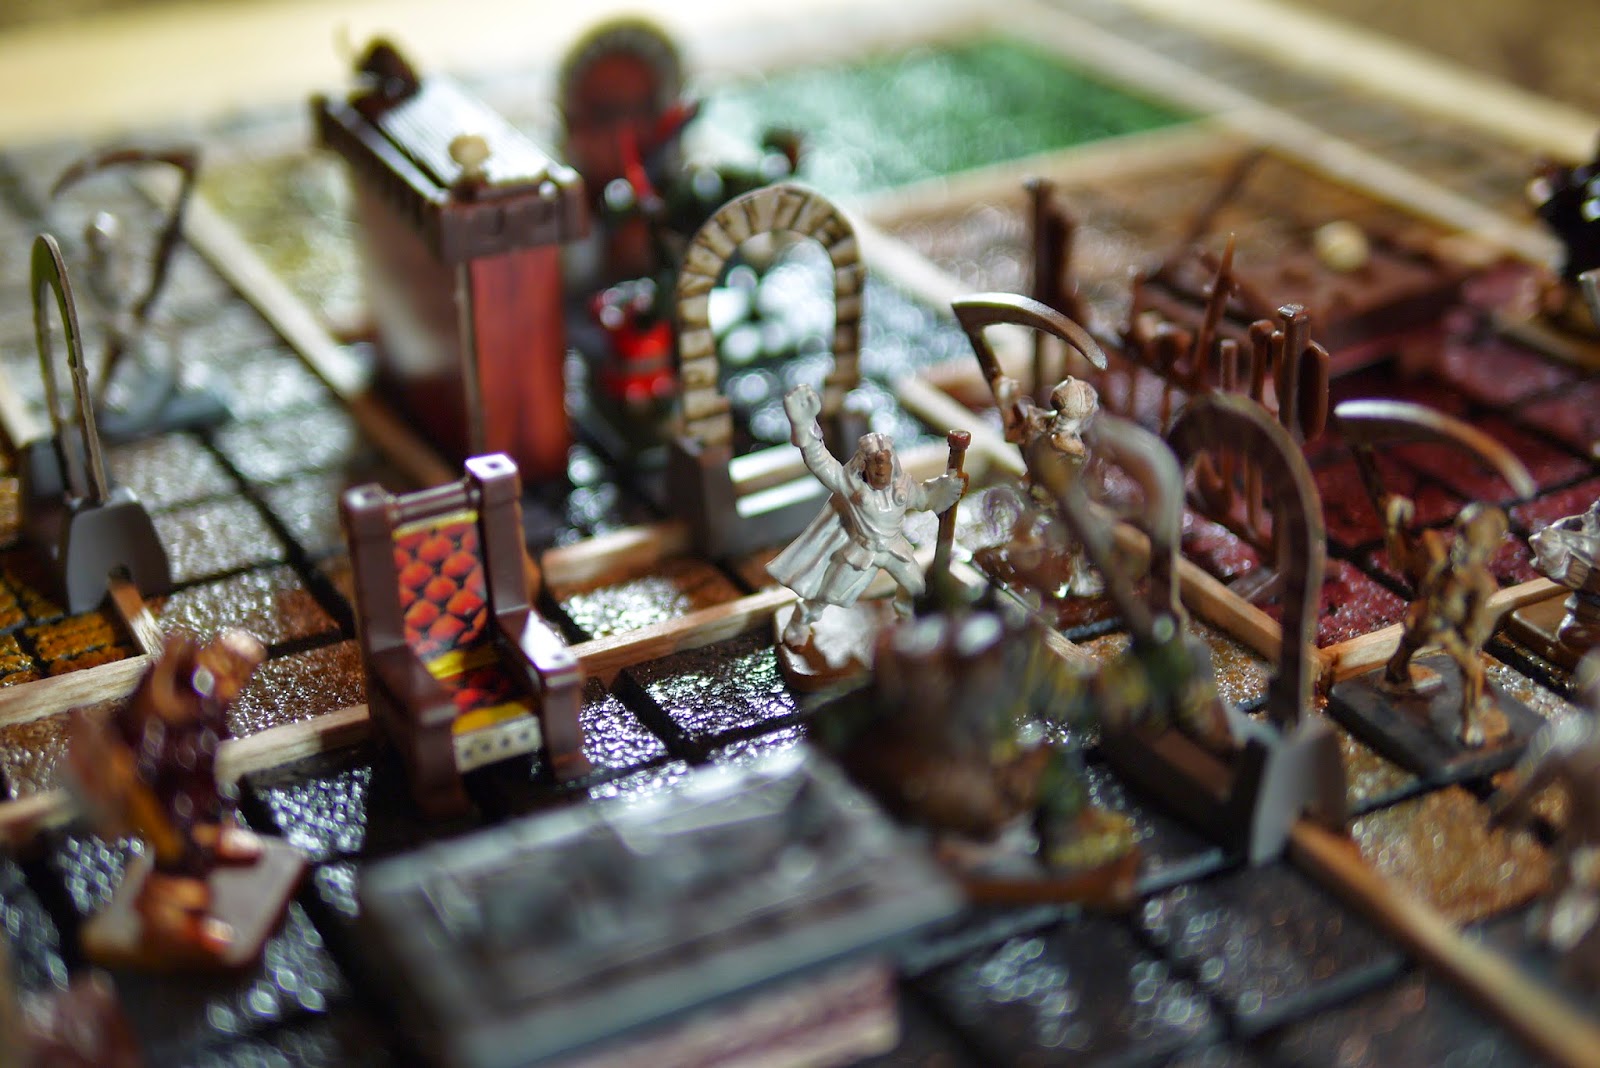
InstaMorph Moldable Plastic is a fantastic medium you can use to make custom bases for your gaming models. If you make any kind of mistake with this material, simply remelt it and start over. I had to remelt my base 4 times while I was figuring out this process. Once melted this material can be molded into any shape and you can stamp any pattern to give your bases a natural texture. In this tutorial I chose to stamp a hexagon tile pattern onto the base to give the model a futuristic feel. The supplies you will need are:
1. InstaMorph Moldable Plastic beads. I purchased a 12 oz. container on amazon.com. It seems like this one container can make 100's of basic bases for your models. You may go through it faster if you decide to make large stone bases.
2. A pair of tongs to grab the melted plastic out of the water without burning yourself.
3. A glass container. Do not use a plastic cup. I made that mistake and the InstaMorph fuses to the plastic cup. It's a real challenge to work with that. I recommend any kind of glass container that is microwavable.
4. A gaming model
5. A gaming model base
6. A utility knife or some other kind of blade to carve the plastic.
7. Super Glue
Fill a coffee mug with water and set it in the microwave. Bring the water to a boil. Transfer the water to your glass container. The instructions for InstaMorph state to bring the water temperature up to 140 degrees and do not exceed 150 degrees for fear of burns. I noticed this material responds much better if you use boiling water. However, DO NOT BURN YOURSELF!
Grab a few pinches worth of the plastic beads and drop them into the hot water.
The plastic beads will start to stick together and form a blob of plastic at the bottom of the glass. The beads will start to turn clear which means they are ready to be molded.
Use your tongs to press the beads together and see if they are soft enough to be molded. You can create any kind of form out of this blob. Remove the blob from the water and carefully allow the water to drain off. Let it cool for a little bit before you start to handle it.
Once the material is cool enough to handle but still hot, you can start to manipulate the plastic blob into a flat sheet. Do not make it too thin. This is where you have the opportunity to make a thick or thin base for your model.
Place your plastic sheet on a flat surface (preferably a non plastic surface). Do not use a cutting board like I did in the picture below. The plastic almost stuck to this surface and that would have been bad news. I ended up using a laminated drawing board.
What I did was I used this material to fill in the underneath area of the plastic base. The top of the black base now becomes the bottom. Press the black base through the plastic mold until it almost cuts through. Do not flatten the mold too much because you need to have some depth to create an impression.
Turn the base over and begin to tear away the excess InstaMorph around the edges. It will tear away like paper.
The InstaMorph should still be transparent. This means you can still mold it and make a textured impression. If you can feel any of the groves in the underside of the black base, then your InstaMorph layer is too thin. Just remove it and remelt.
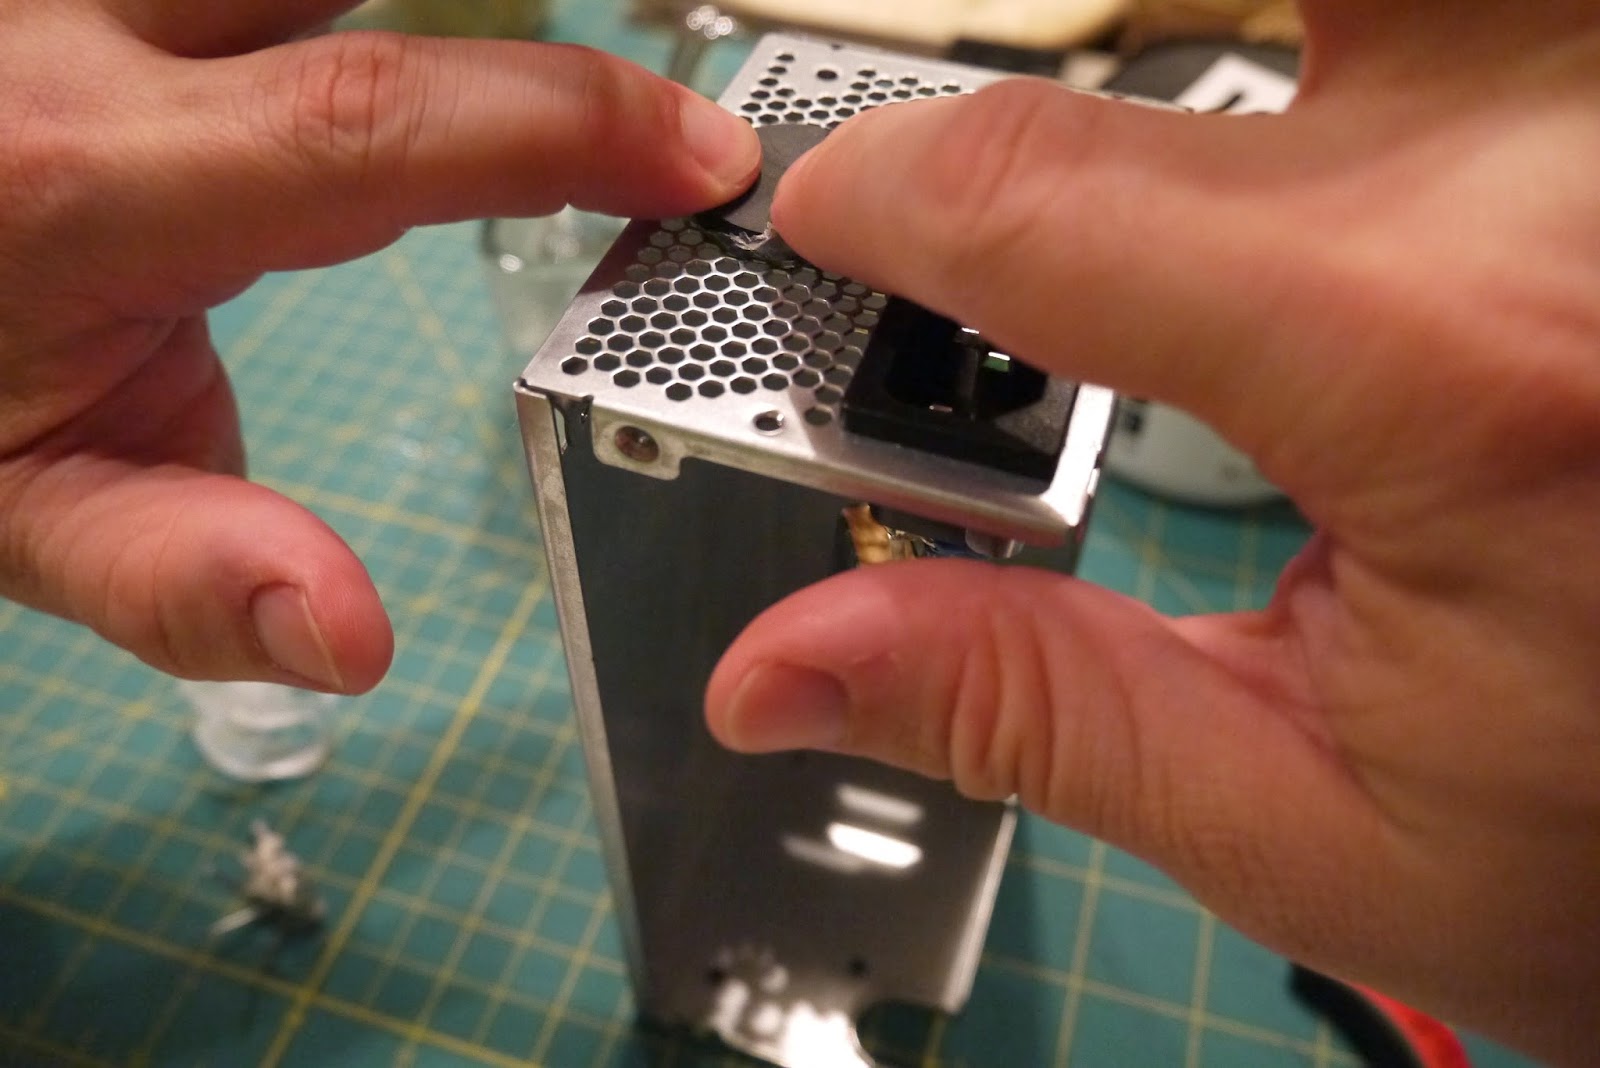
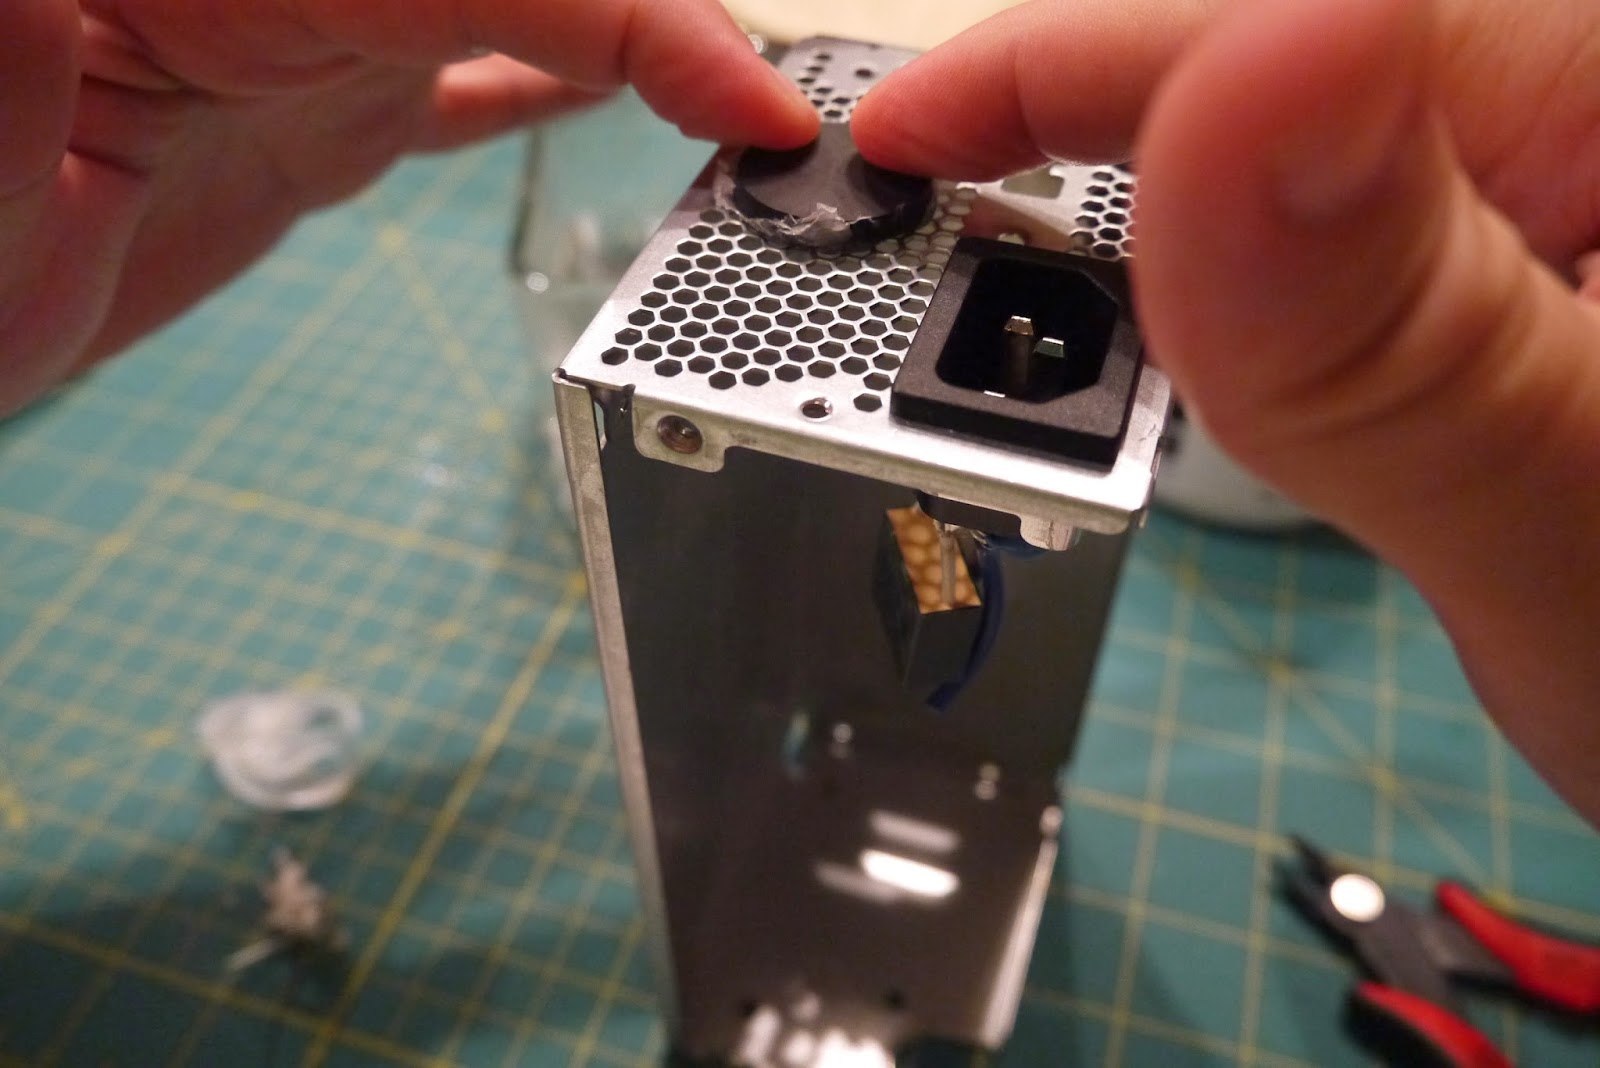
Find something with a pattern you like. I used the back vent side of a computer power supply. This offered a nice futuristic hexagon tile pattern. This should go well with the Infinity models.

Gently press your base into the pattern. If you press too hard or too deep the tiles will start to grow and curve. Press just enough to make a visible pattern that is easy to paint.
As you can see, the pattern was a success but the tops of each tile are rounded.
Simply press the top of the base into a flat surface to flatten out each tile. Make sure you do not apply too much pressure otherwise you will lose your pattern.
Now each tile is flat but a 3D effect remains which will make it easy to apply a textured paint layer.
This is one of the most important steps in the whole process. To properly attach a model to its base, you need a flat surface for each foot. This is another bonus when working with InstaMorph plastic. After you create your pattern, take the model and find your desired position on the base. Gently press the model down to make a foot impression into the base. The foot prints will harden and make it a simple process when you need to glue your model to the base.
Remove the model and allow the InstaMorph base to harden for about 30 minutes. The foot print(s) will be ready to add the model.
In the mean time you can add any of the InstaMorph scraps you tore away from the base back to the main jar of beads. This stuff is amazing because you can reuse any of your scrap pieces.
Take your utility knife or a different blade and carve a smooth edge to the base. I like my edges to be even with the original base. It will have a clean edge when you add paint. If you want to make it look like your base was ripped away from a floor, you can leave it jagged.
Here is the final product. As you can see the base is almost white again and you can no longer see through it. It has hardened into its new form. Remember to add those plastic carvings back to your bead container.
Now you can either glue your model to the base and start the painting process or you can paint your model and base separately. That is entirely up to you.